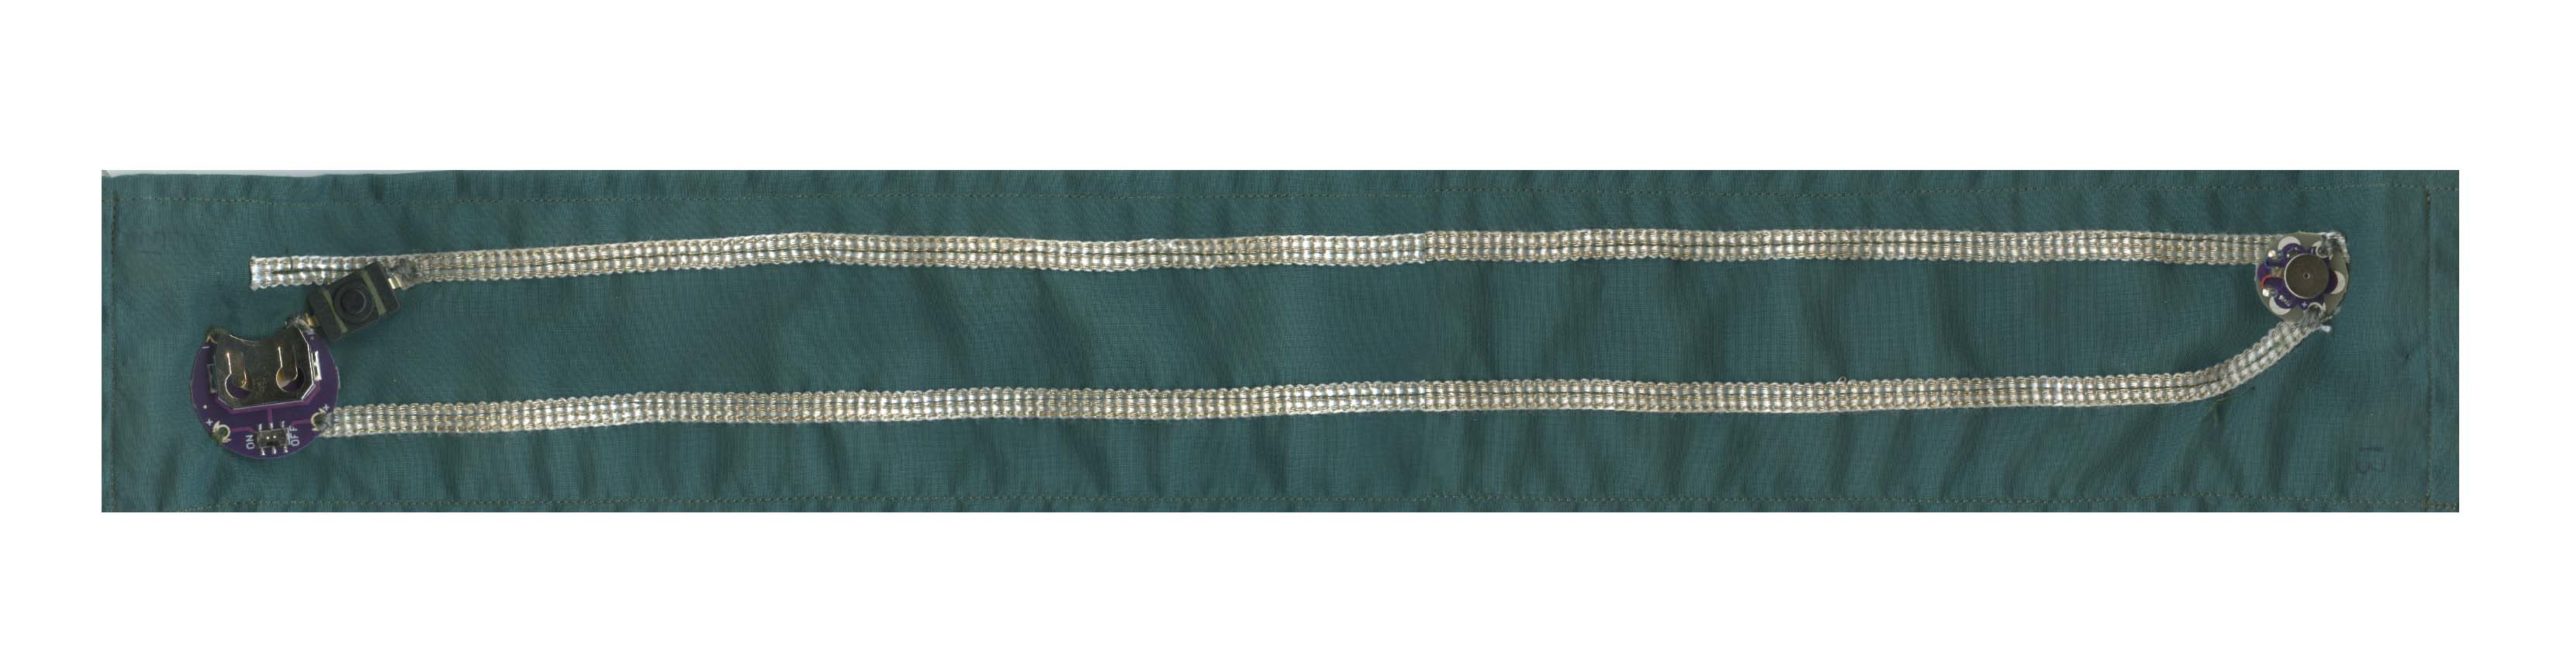
Attachment to fabric:
In this test, the conductive ribbon was sewn to the fabric directly with a sewing machine. Although the ribbon material is thick, it is pretty easy to sew through it with a home machine, using standard (not-conductive) thread.
Attachment between components:
In this test, sewable components are attached directly to the ribbon using conductive thread. To use this method, you must take note of exactly where you will place components before sewing ribbon into place.
This ribbon has three separate lines of conductive thread within it, separated by a non-conductive fabric that serves as an insulator. Because we were only making one connection on each side, we sewed across the three lines. If you wanted to use it to hook-up a sensor for example, and keep the three lines separate for power, data, ground, you would need to sew with more precision.
Pros and Cons:
Pro: The three separate lines on this ribbon are a big potential pro, for hooking up a sensor, for example. We have not tested this application but intend to. The ribbon is very durable, while also being flexible and easy to sew.
Con: It is somewhat thick/bulky compared to conductive tapes. It has a higher resistance than wire. We haven’t tested whether this would impact it’s ability to bus power to a motor or sensor.


