ㅤ
Overview
Level
Beginner
Time to complete
Under 2 hours
Sewn by
Sewing machine, but use a method that works for you
Supplies
- 1 Solar panel with USB connector
- Pannel comes with a 5V USB connection port
- 10 watts in the open sun with a peak power output around 6V at 1700mA
- 259.60mm x 139.69mm x 2.46mm
- ½ yards Faux leather
- 5 yards leather cord(3mm)
- Thread
- Double side tapes (optional)
- Glue(optional)
- Sewing machine (optional)
Instruction
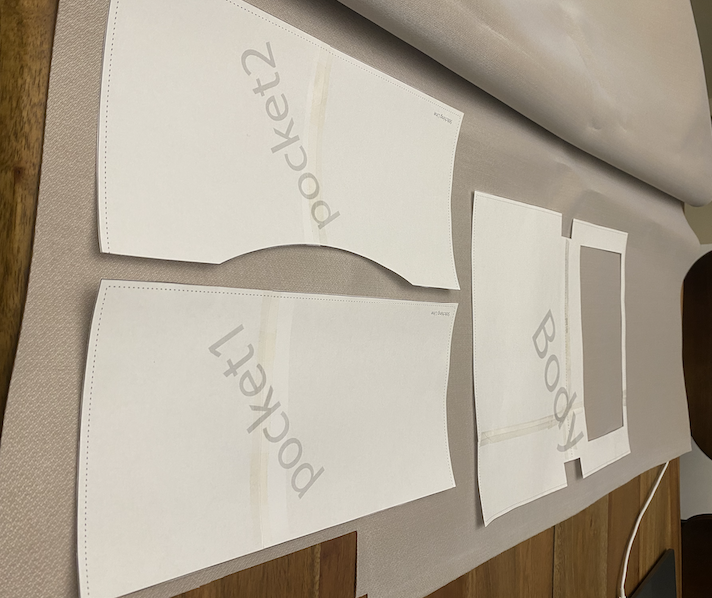
Step1. Creating paper patterns
- Download Final paper pattern_solar charger bag.pdf and print it out in letter size paper.
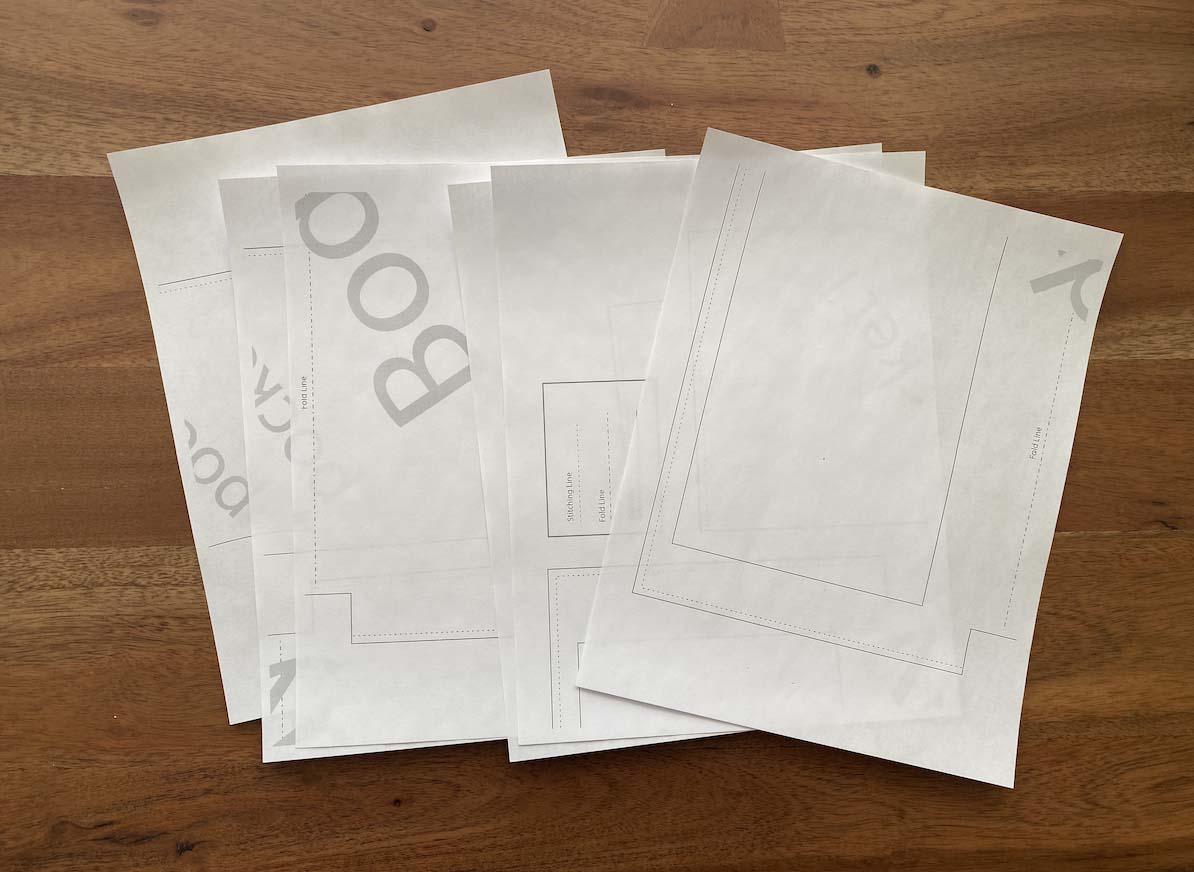
- Cut out printed papers, following the line. Check the line reference box before you cut out.
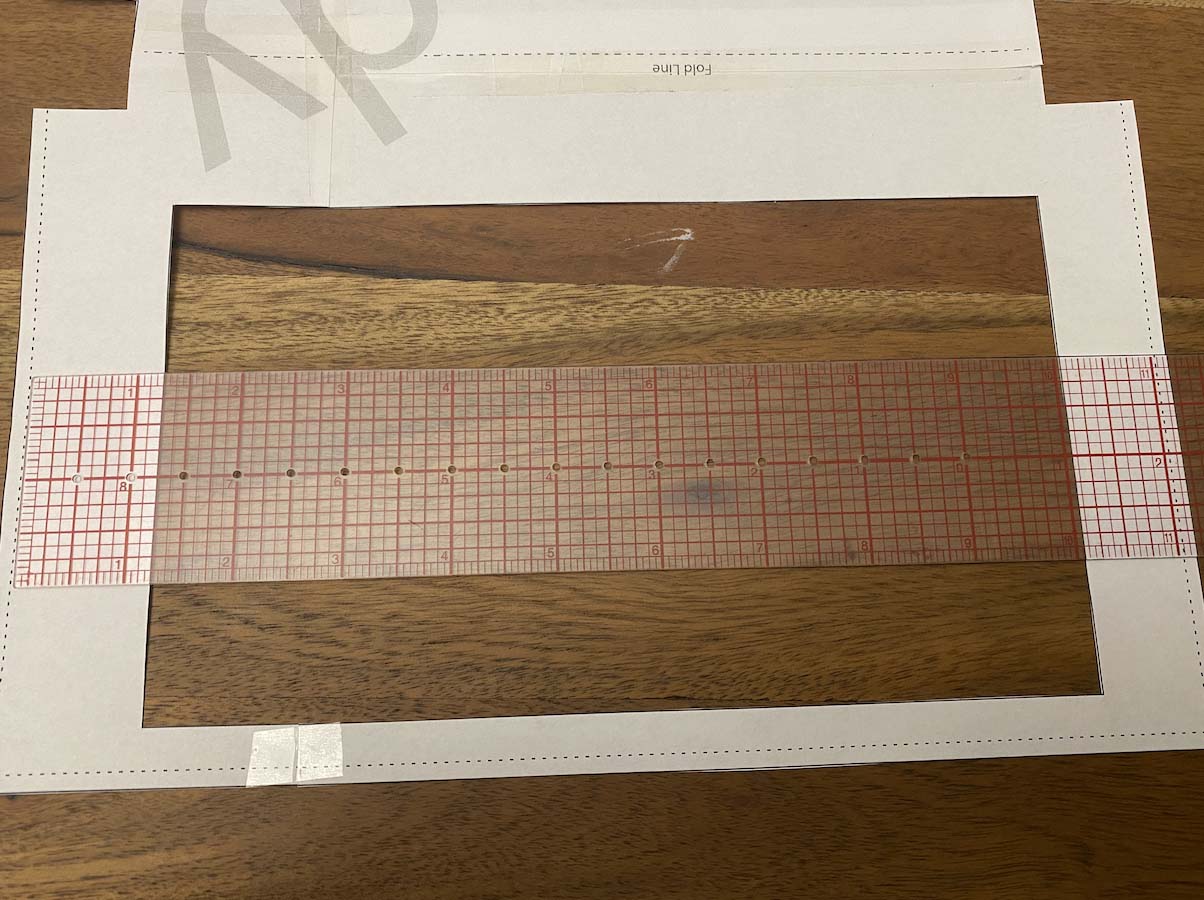
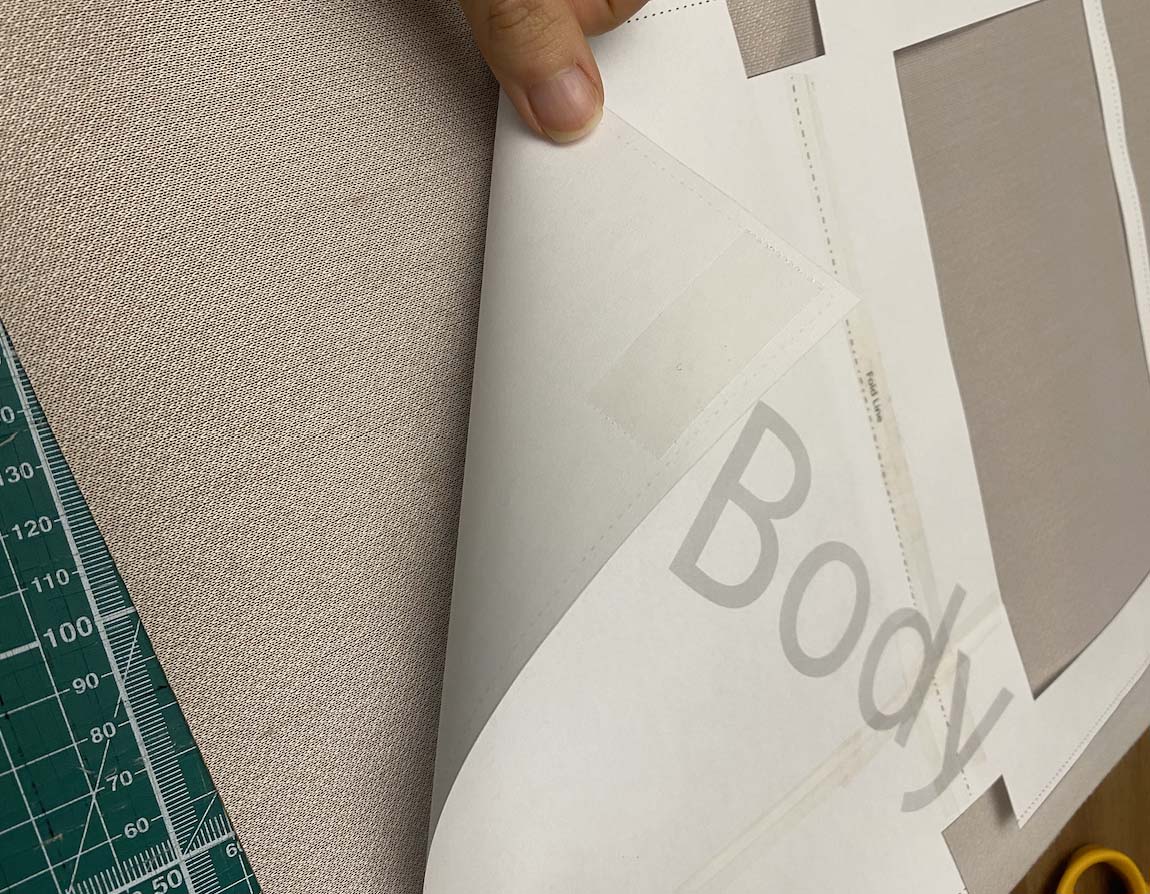
- Measure the cut-out pieces to confirm the size before you tape them securely. See section 4 to check the exact measurements of each pattern. Please note that each page is 1″ overlapped to the other.
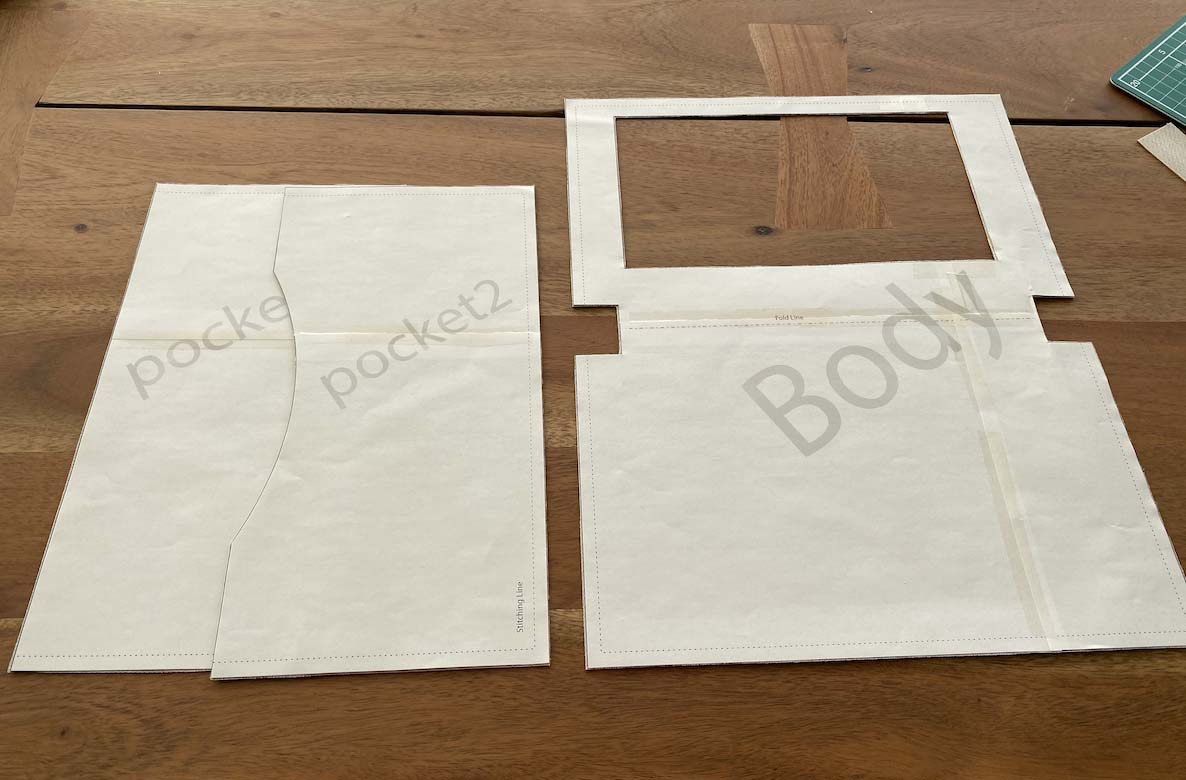
- Tape them accordingly to make patterns of body1, pocket 1, pocket 2. Once assembled, the dimensions of
Body1 = 11.5”W x 14.7”H,
Pocket 1 = 6.25”W x 11.5”H,
Pocket 2 = 6.25”W x 11.5”H,

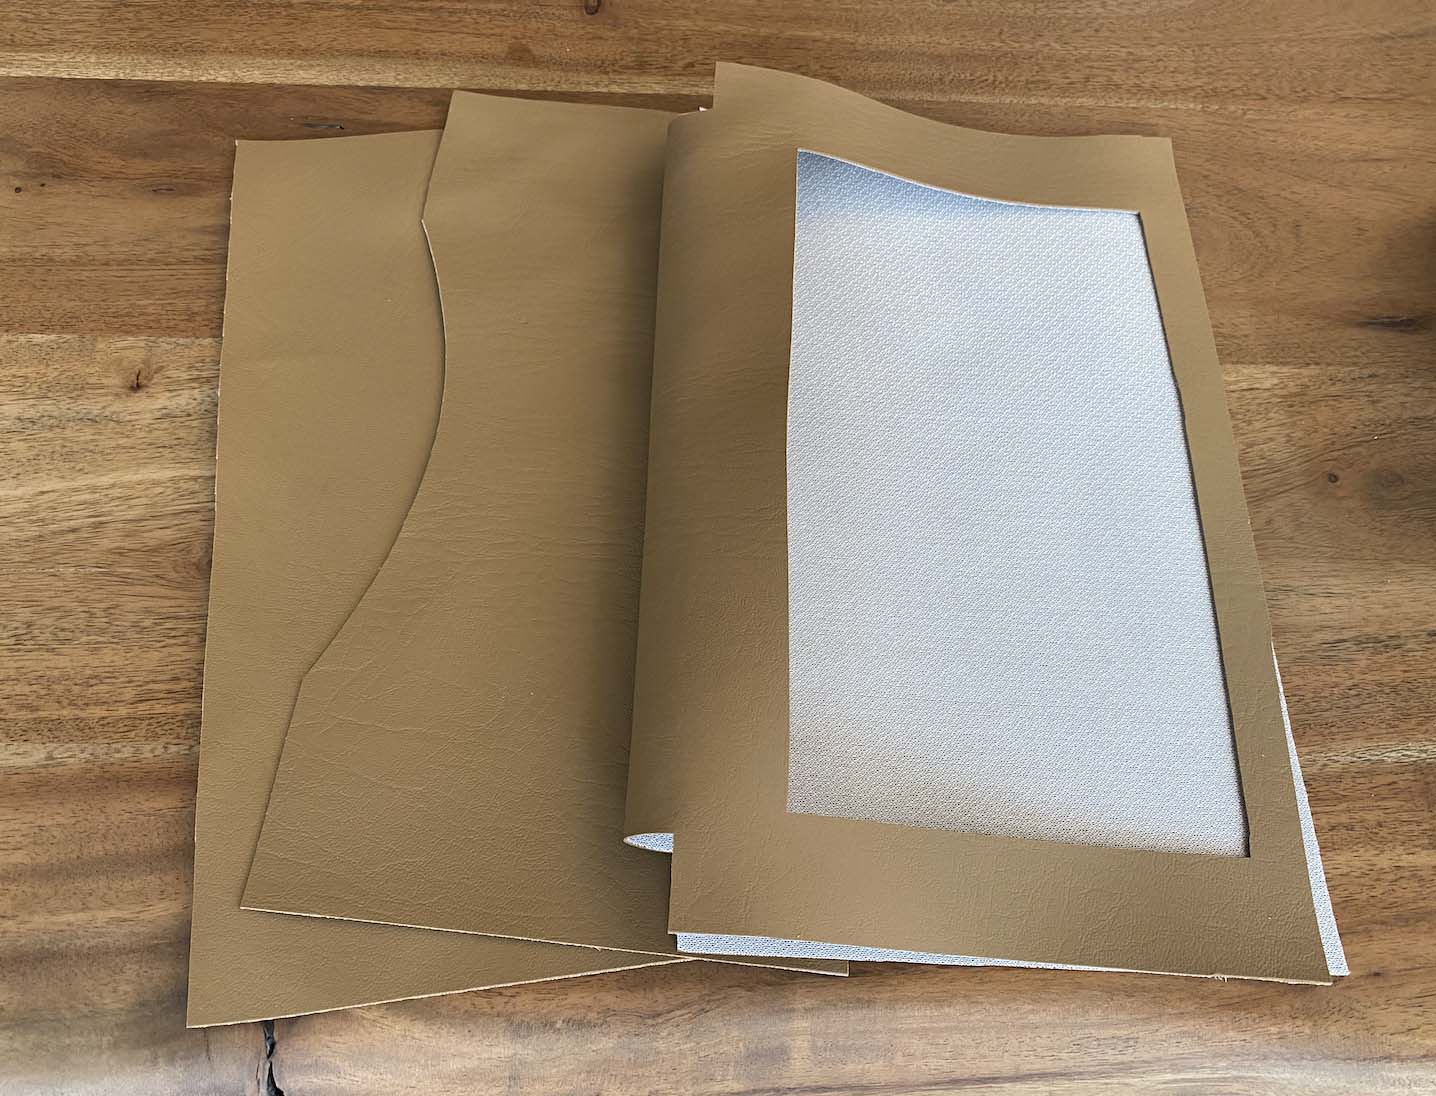
Step2. Cutting leather with paper patterns.
- Lay all your pattern pieces out onto your leather.
- Tape the patterns down using double-sided tape as this will hold more of the pattern paper flat while you are cutting. I used tape instead of pins because pins will remain holes after taking them out.
- Double check measurements against your solar panel before you start cutting
- Cut the leather along with paper patterns. You will have 3 cut-out leather pieces: Body, Pocket1, Pocket2. (You can use any kind of cutting method, rotary cutter, box cutter, etc. Use a method that works for you. Please keep in mind that the edges will show in the final products.)
- After cutting out the leather, remove the paper pattern pieces from the leather.
Step3. Sewing leather cut-out pieces.
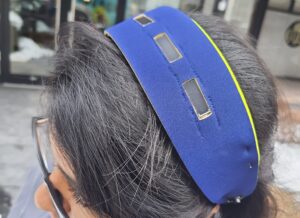
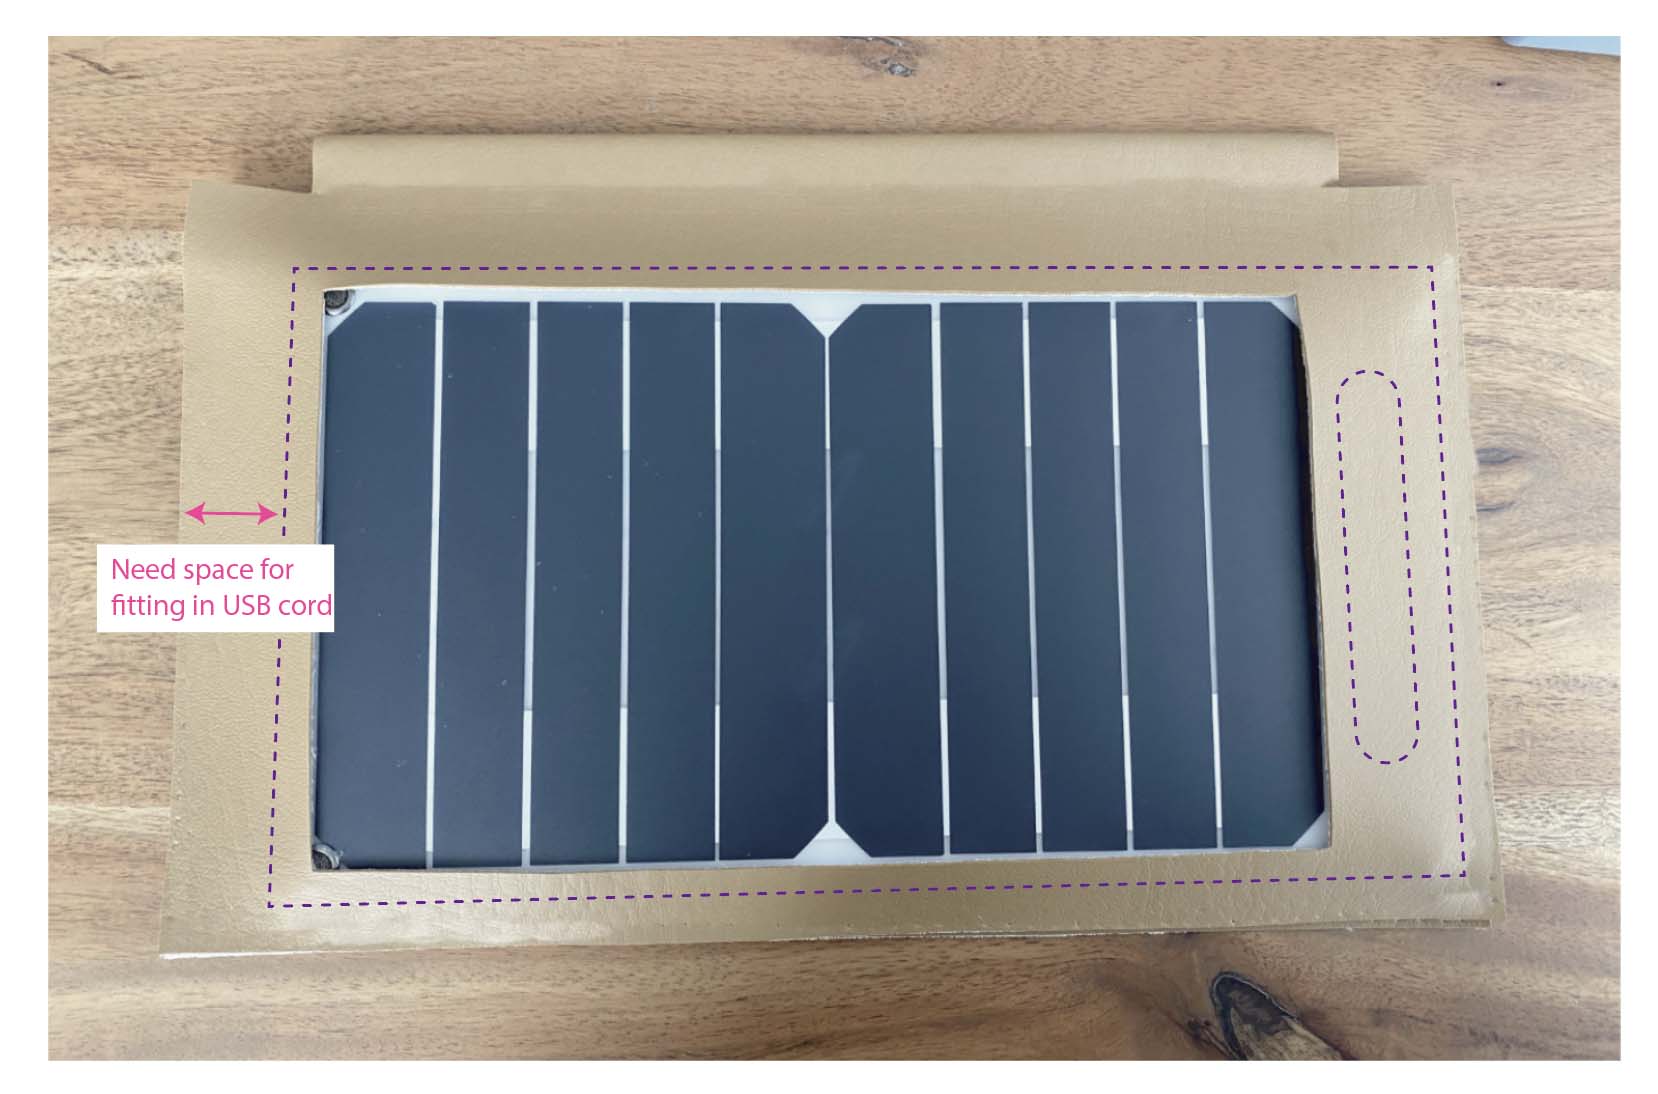
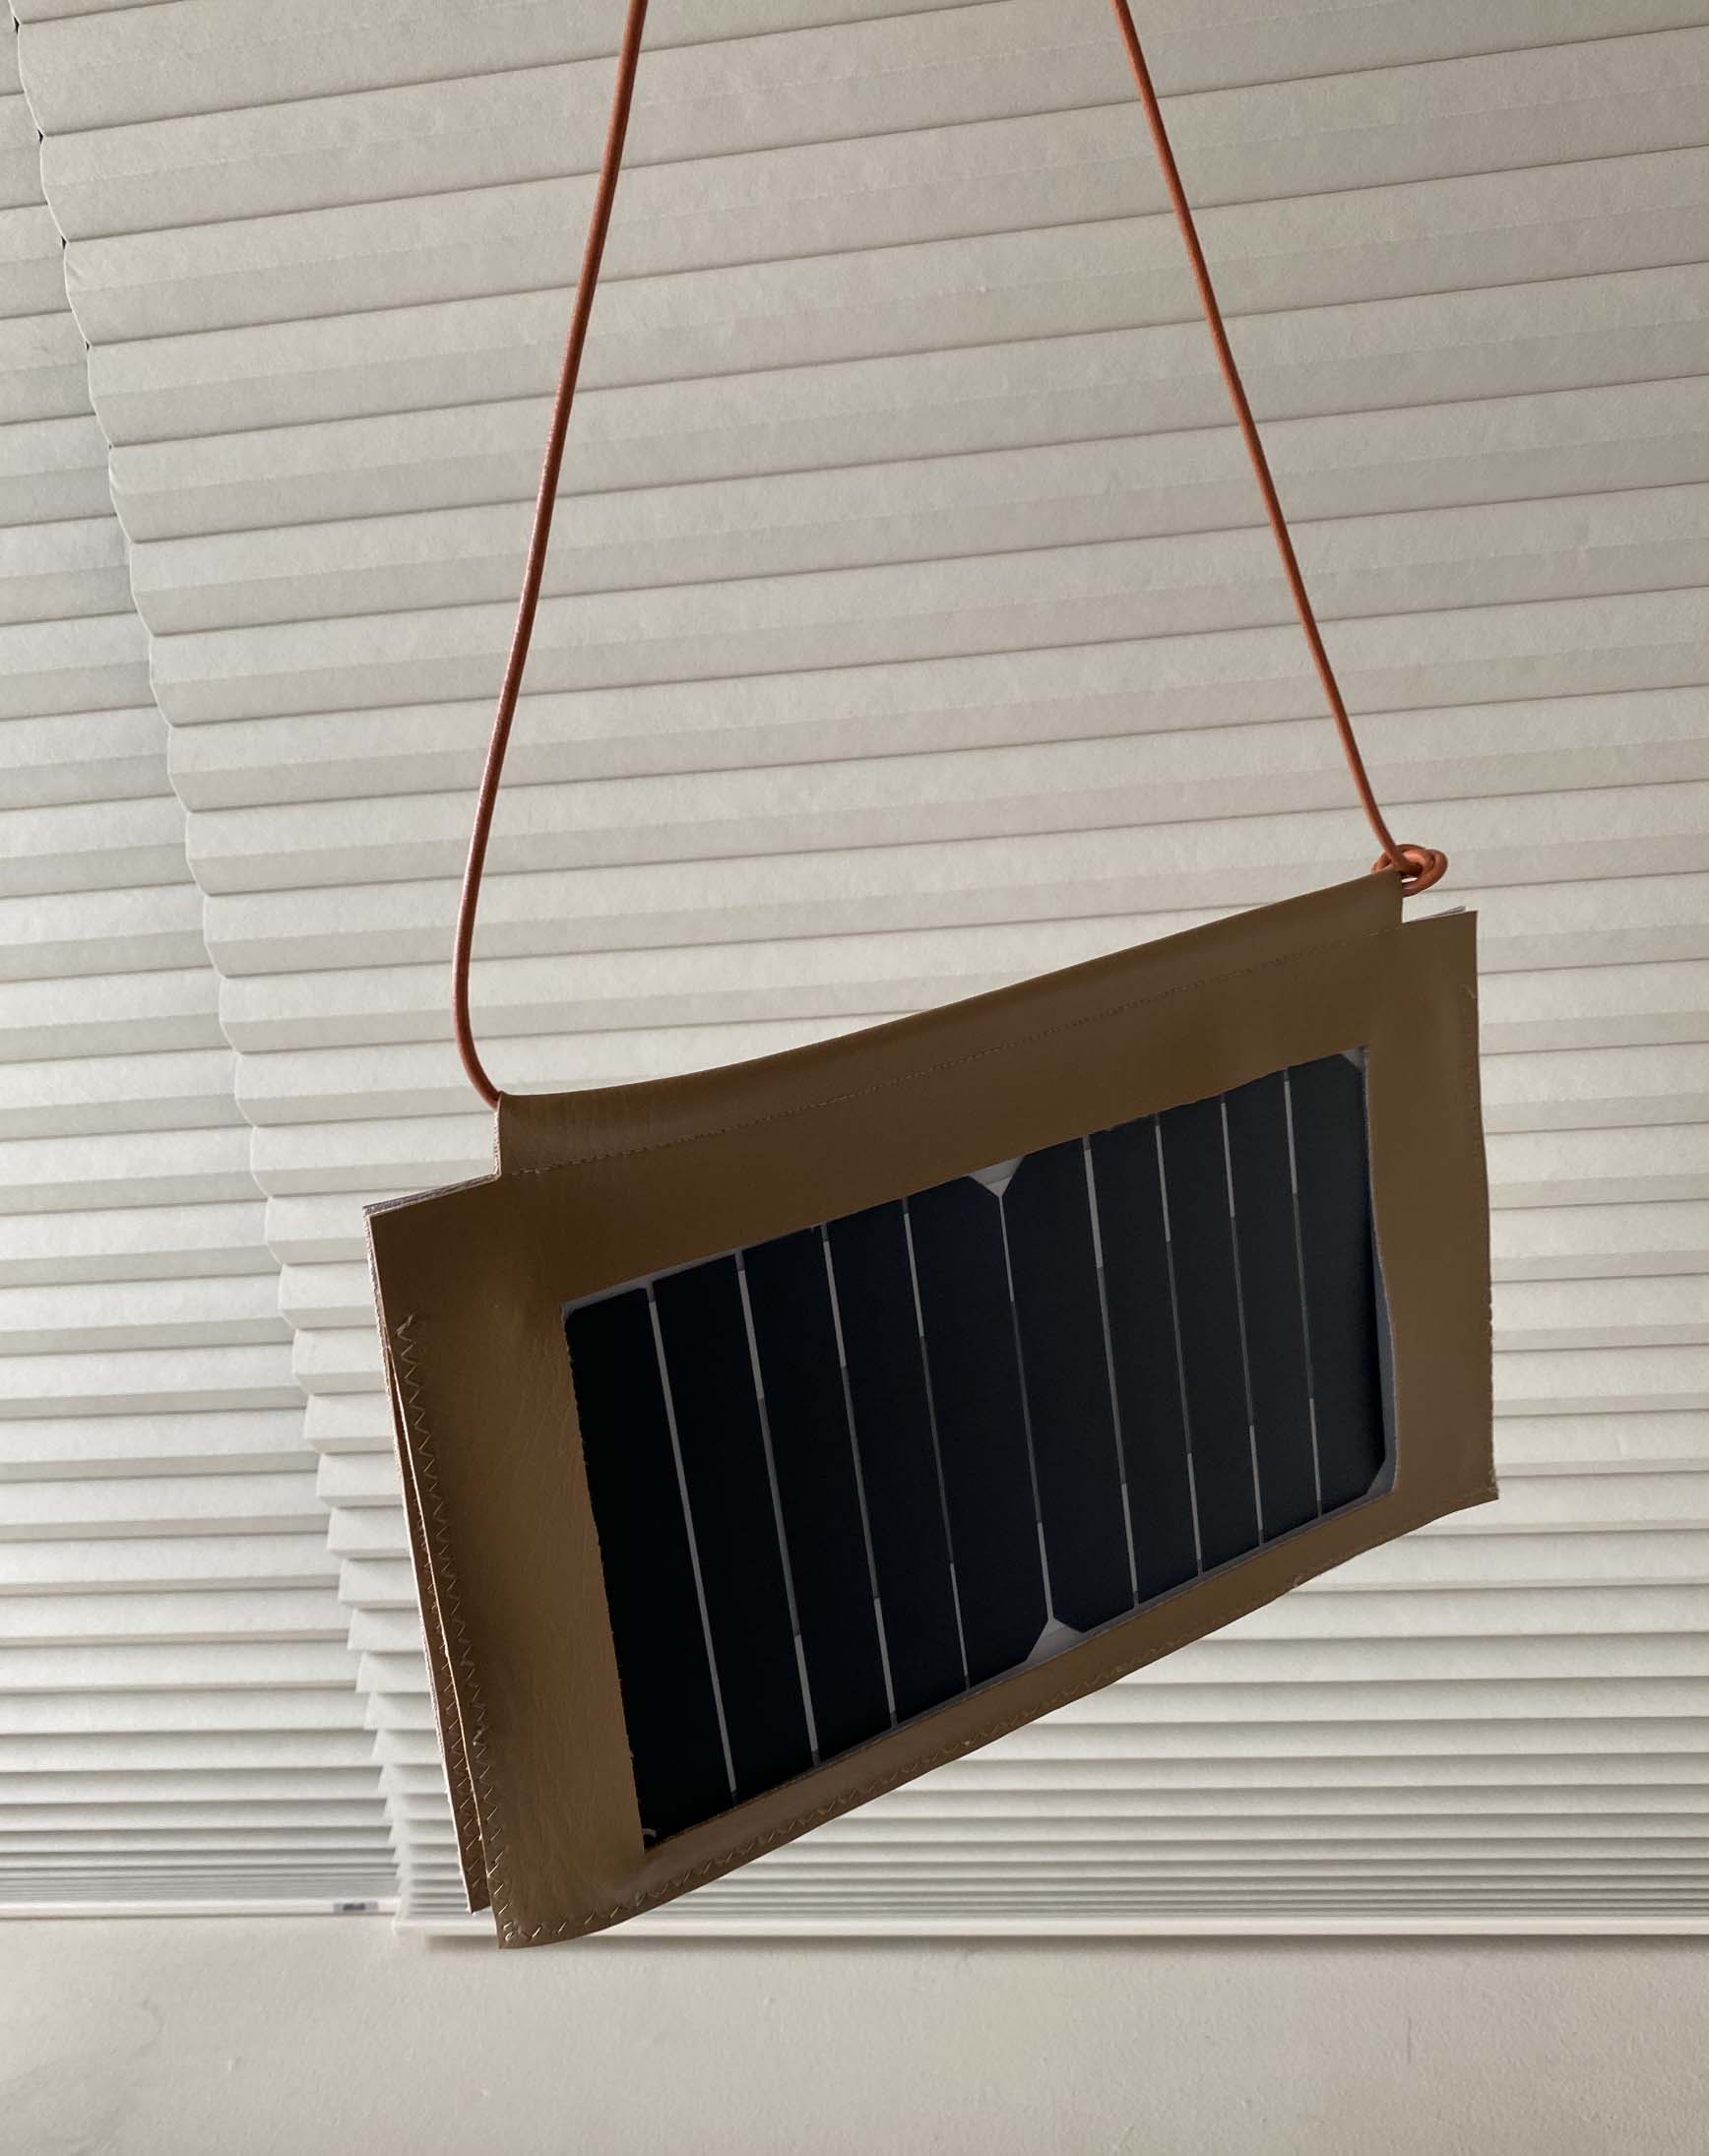
- Hand stitches each corner of the solar panel to the inside of body 1a. Please reference the below image for the direction of the solar panel and lay it accordingly. Please note you should give space for fitting a USB cord. Here’s more info on how to hand sewing.
- To make it look clean from the outside, I didn’t sew the solar panel all the way through to the body 1a. It’s just personal preference. If you want to show hand stitches from the outside of the body, please try to be tidy and use a cool accent color if you want to make it more prominent.

- Sew pocket1 and pocket2 to the body 1a and 1b. Please note that pocket1 should attach to the side of body 1a and pocket2 should sew to the side of body 1b. Please see below layout photo for your reference. (Use sewing method that works for you: glue, hand stitch, sewing machine)


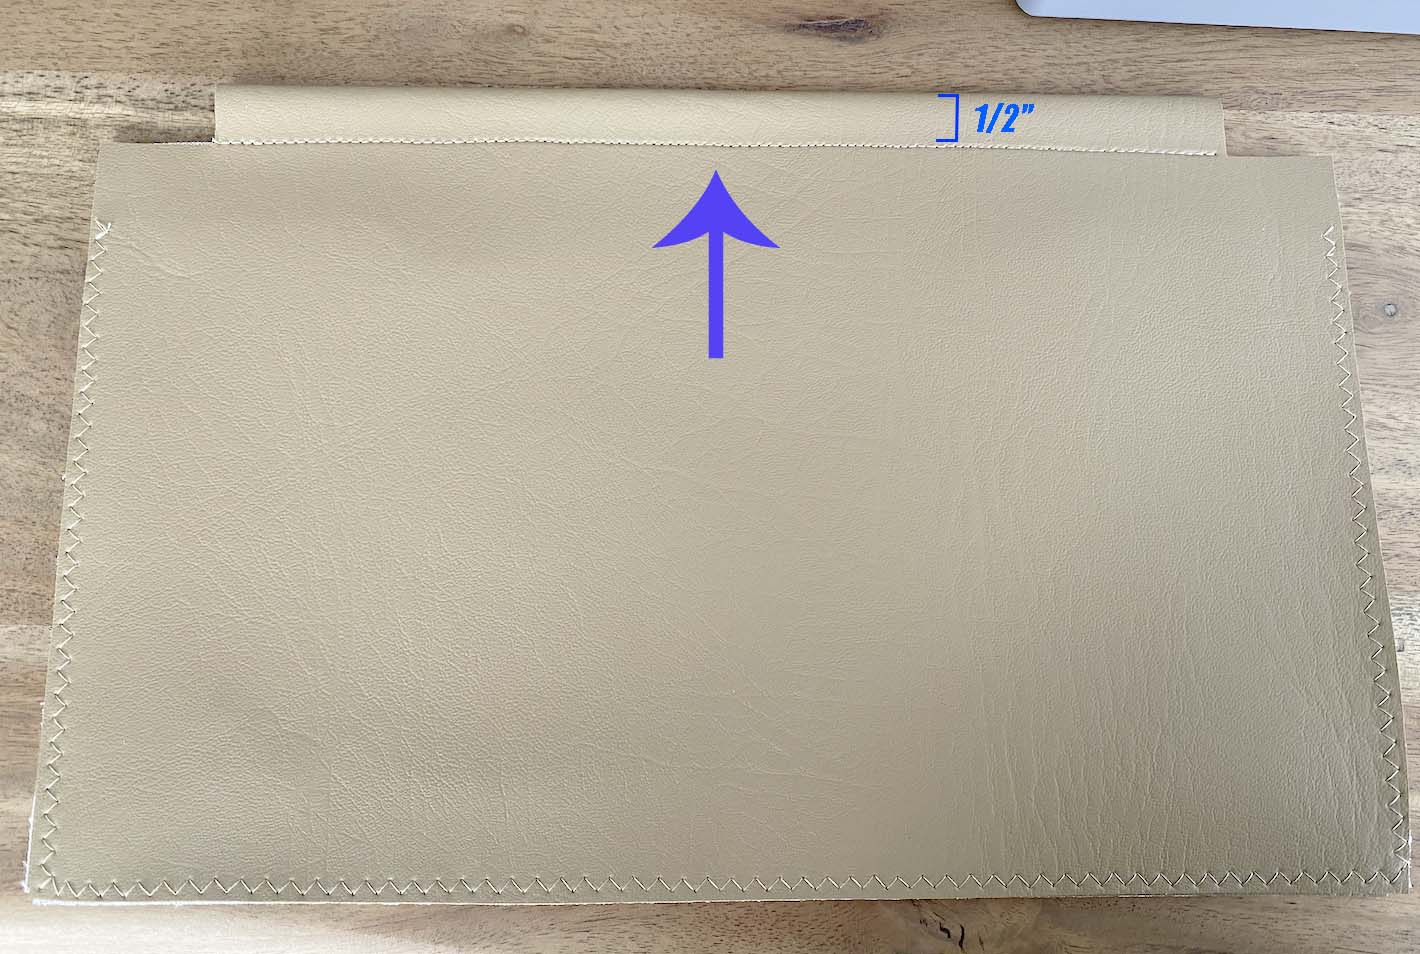
- After you attach pockets to the body, fold the body in half. And sew a straight line 1/2″ lower from the top to create a tunnel for the leather cord handle. Please see the below images for your reference.
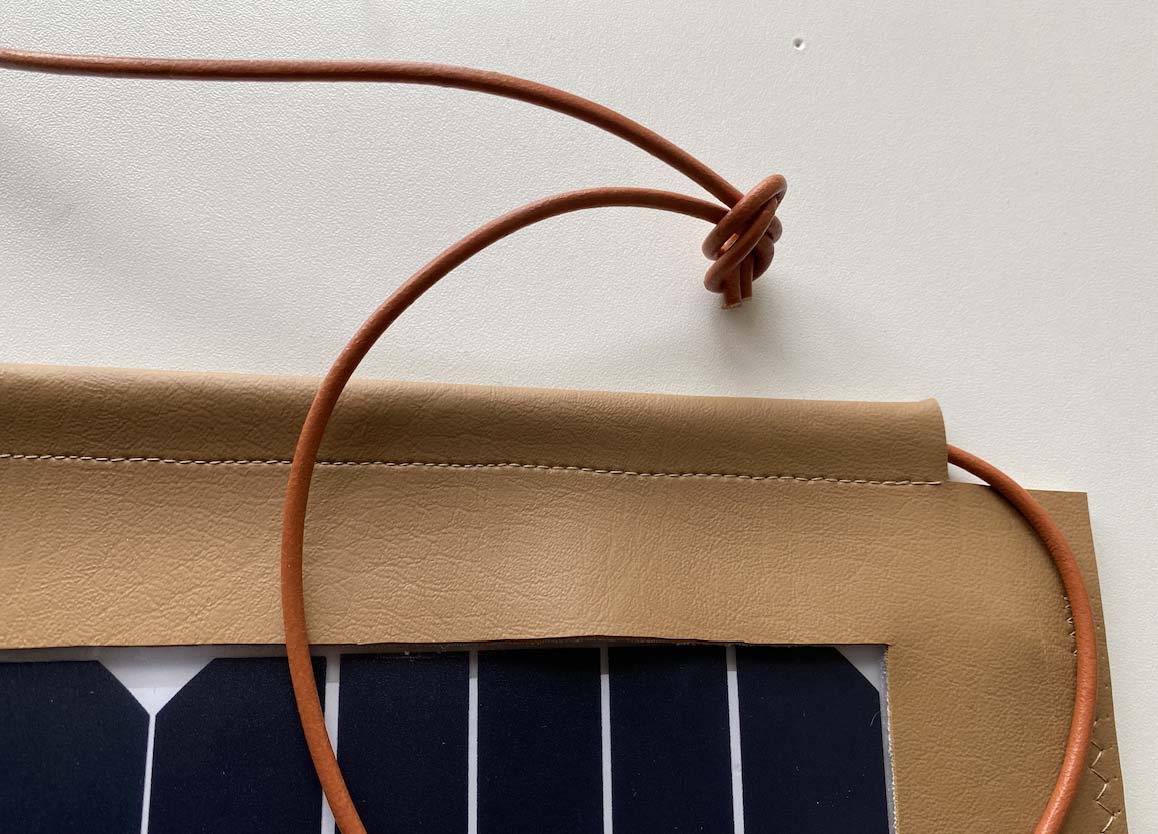
- Insert the leather cord into the tunnel you just created.

- Knot the ends of the cord together.
- Yay! You created a rechargeable messenger bag with a solar panel.
 .
.